

Full description not available
P**N
Great fun for the kids!
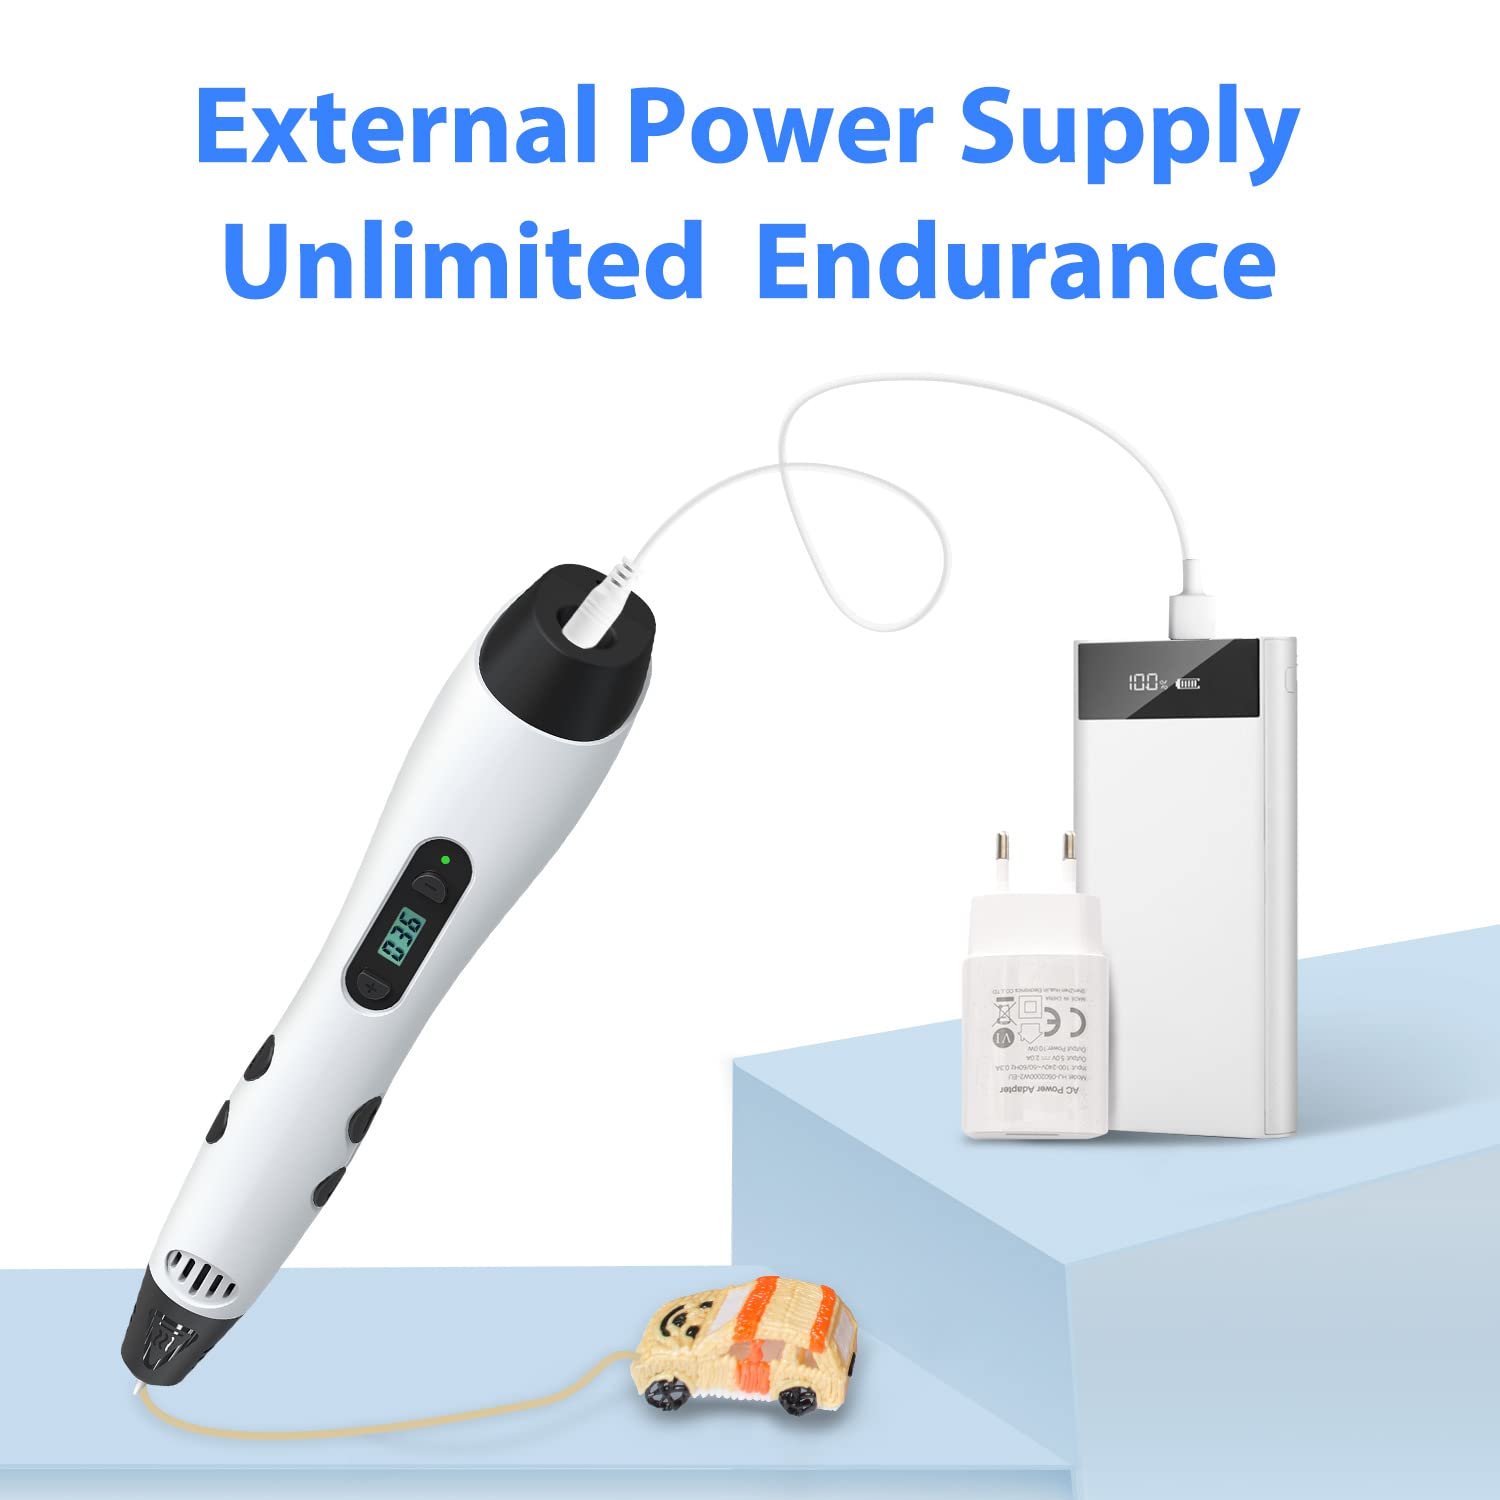
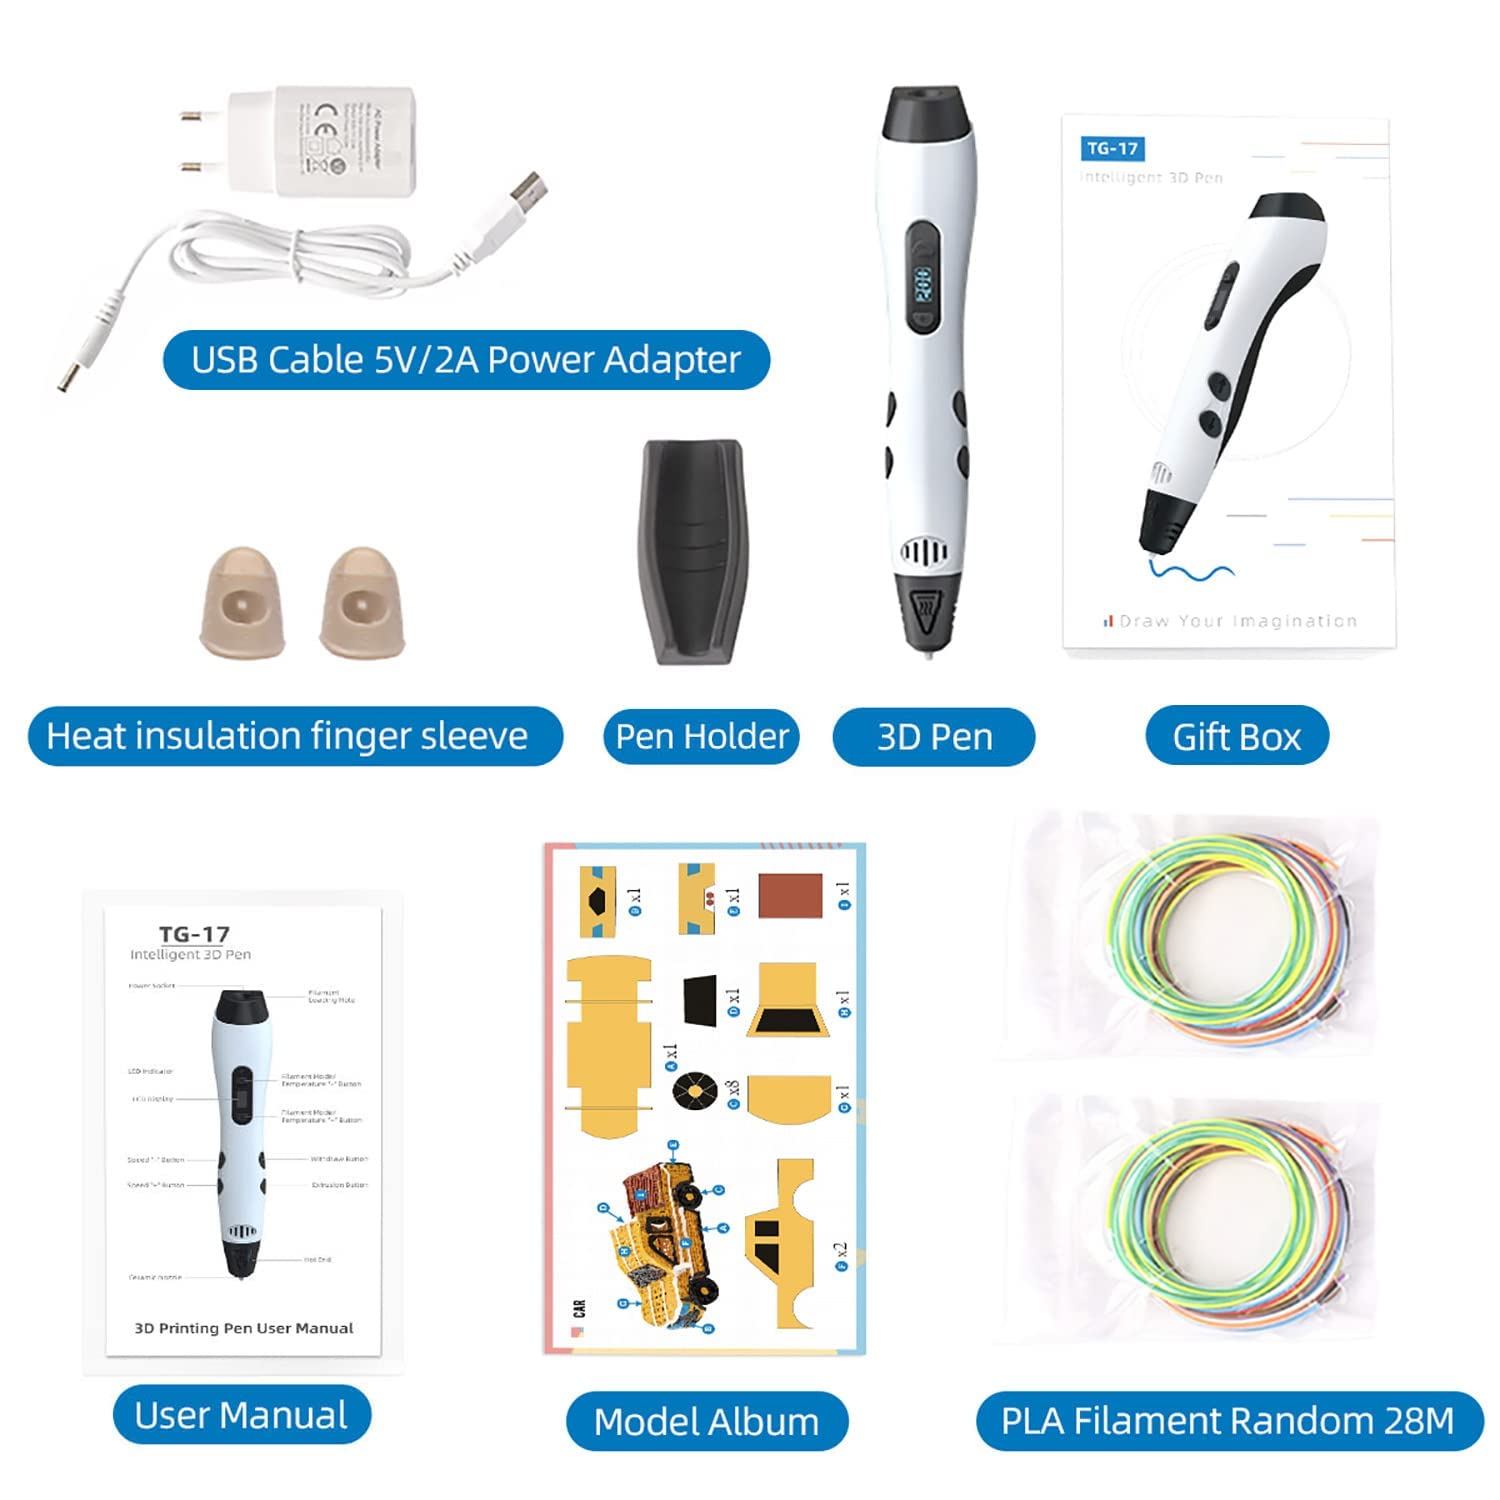
I have been into 3d printing for a while and my kids have wanted to try it out for some time but they aren't quite at the age where they can use the software properly to be able to make things for themselves.I got the pen for them as it seemed like a great way for them to try and make things with out the use of the boring software side of things, and they have loved playing around with it.Results are far from what a proper 3d printer can do obviously, but they love being able to just start trying to make something straight away, with out having to sit at a computer.I wouldn't recommend this for children that are too young and would recommend adult supervision while kids use it due to the hot end in the pen.It comes with some templates to make a few objects such as a push bike, glasses and the eiffel tower, but the kids prefer to try and do their own thing. It's easy to set up and tidy away and when not in use, it doesn't take up loads of space like a 3d printer does.Overall I have been pretty impressed with the little pen, the only thing that I was unaware from the listing is that it needs to be plugged in during use. I had thought that it charged up when I initially got it but the more I think about it, being on a battery would be a bad idea any way. The last thing you want is it running out during a session and having to wait for it to charge.Side note: I have used it to fix a few broken toys that had broken limbs with varying degrees of success. Not its intended use, but was a pleasant surprise when I realised that I could do that.Over all I would recommend this as a fun multi use hobby tool that has a few interesting uses beyond just making some 3d objects.
K**R
not just for joining printed parts.
I had a 3d pen previously that I used for joining printed model parts together. It hadn't had a lot of use but decided to give up. I usually use Geeeteck filament and when ordering more I noticed that they now do a pen so I ordered one. I expected it to de similar to my old one but its so much better, more controlable and given time I'm sure I'll be able to do much more with it.I started with an 8 hour print that had lifted on one end and loaded the same white filament in the pen. I built up the corner, then using the hot end smoothed over. Not bad for a first attempt, see the picture of a 1/35 no.6 bridge quadrant.Bouyed up with the success I thought I'd have a go at repairing my print of 'the once and future king' I'd printed it using Geeeteck copper silk filament and tried it with tree support. I printed one at 4inches high and one at 5 inches. When removing the supports I broke the sword on the 4 inch and one of the back bits on the 5 inch. . each had broken into a few pieces, the sword into 4 and the back piece into 2. I printed a new sword using gold filament. I first used the pen to join the 2 pieces of the back support together then that now one piece I joined back in place. again I used the tip to smooth it. I've highlighted the area with a blue circle, compare it with the smaller version you can see the discrepancies in the repair but I don't think they can be discerned otherwise.So I'm thimking if I can achieve this on the first outing I should be better when I get more osed to it. Note to self - take before shots!
M**N
A good 3d print pen albeit you need to up your art/ drawing/ skills! :D
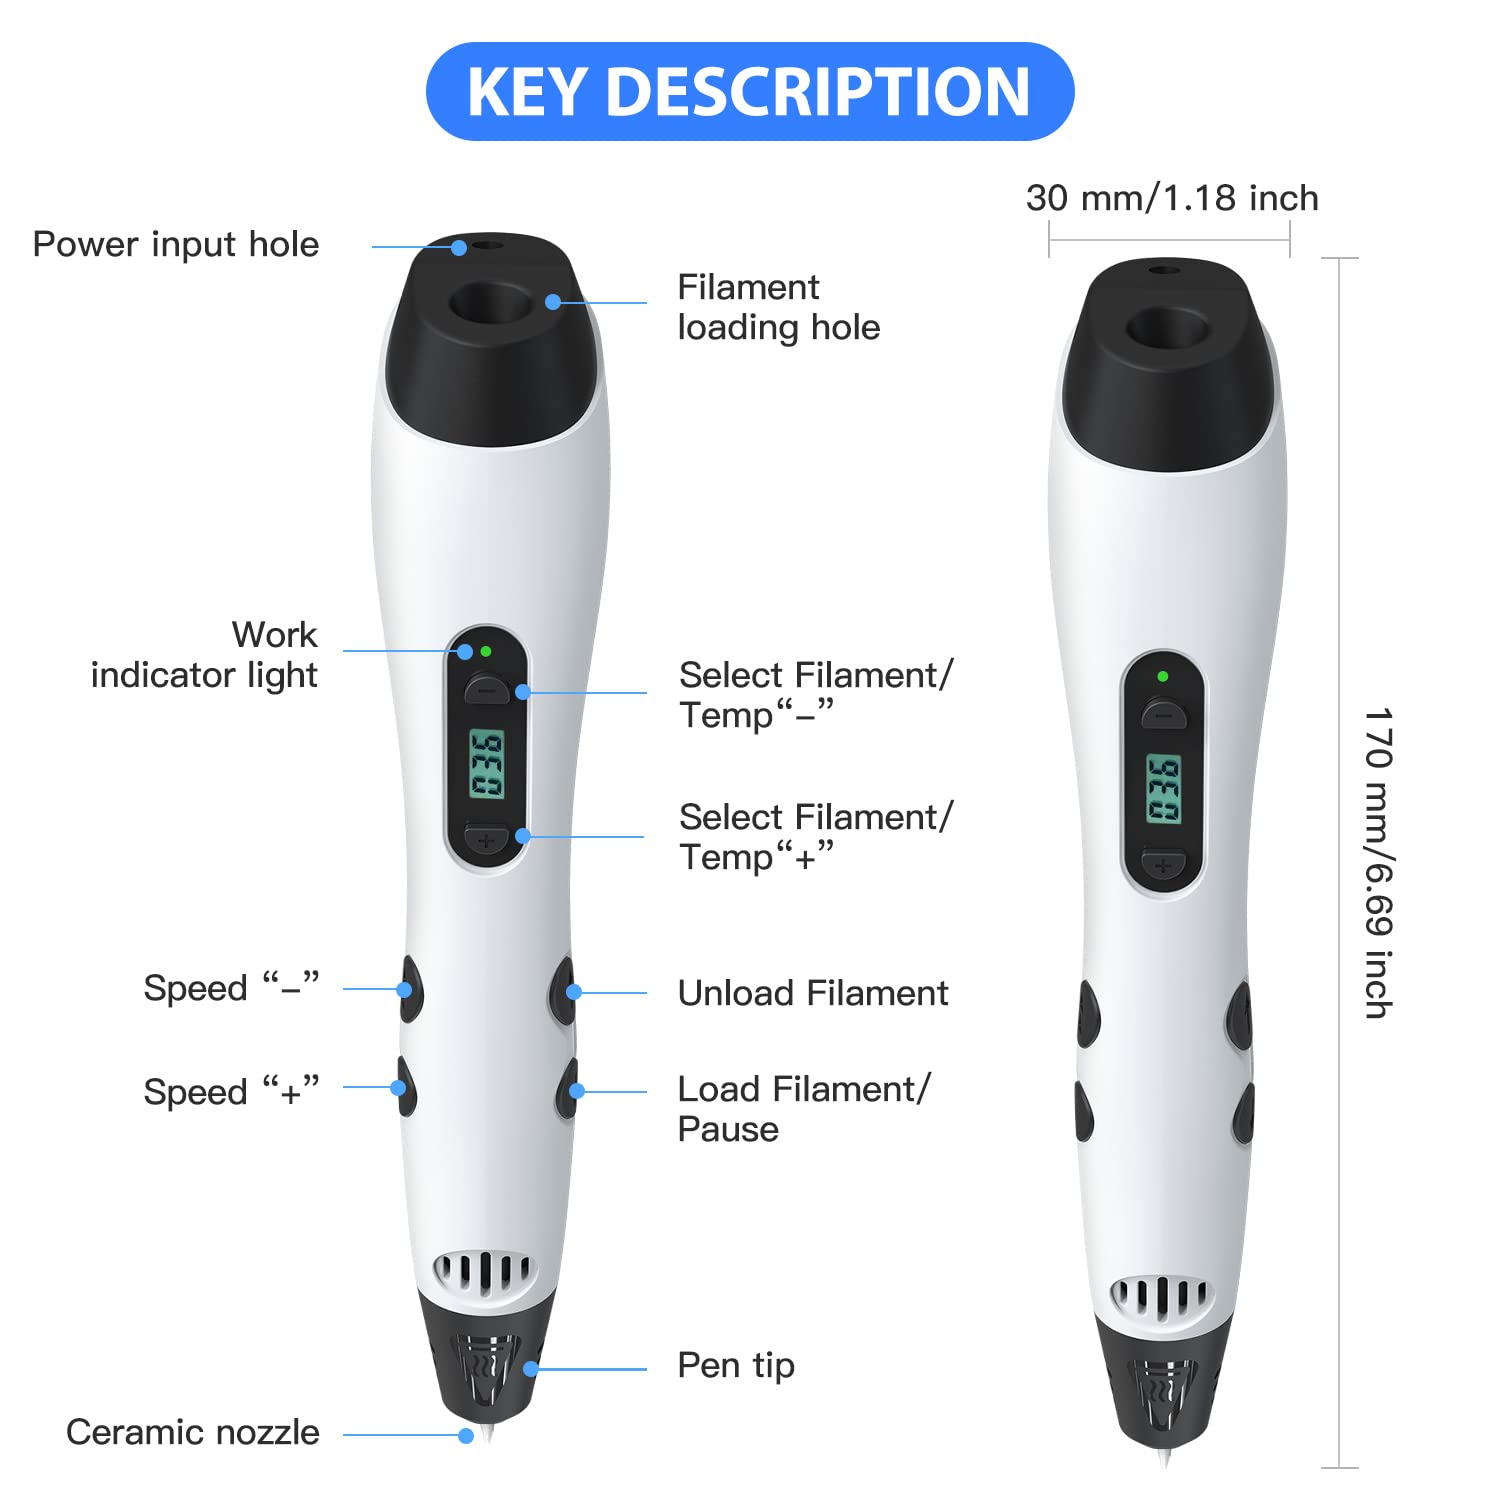
So I thought how do I repair 3d print models… Superglue, yes but can be quite fiddly and leaves a white residue… Hence my venture into 3d print pens!I had read a lot about 3d print pens and was sceptical however as it was more just to repair models I though why not… Geeetech was a good name so gave them a go!The pen feels well built albeit rather thick. I prefer drawing with a much thinner pen/ pencil, but guess the mechanics to heat and extrude the plastic needs to be house somewhere.Fixing models was a doddle and just like super glue but without the mess and potential to glue your fingers to themselves or something else and the fix is of the same colour!.The 3d print pen is powered by a 125cm usb power cable which I found short and hence needed an extension to move the power plug onto the desk. It takes about a minute to heat up as well as another minute to feed in the filament to start extruding. Same amount of time also to remove the filament.You can helpfully increase or decrease the temperature as well as change the rate of flow of the melted filament out of the nozzle which is very helpful. The pen can cater for normal PLA as well as ABS!The stand for the 3d print pen has a suction cup to hold it and keep it upright but will only work on the correct surfaces. Luckily I had small glass squares which I used. The square was also used to wipe the excess filament.Getting to hand at free hand drawing/ design with the pen was not an easy task. Ok I am not the best artist around. So I printed some templates to practice an “ trace” over with a piece of glass above the paper. This proved a lot easier. The traced designs came out well and I can see that with practice they would be a lot better. As for a 3d proper print, I did venture into that but given my skills are not that great at the moment they did not come out too well. However I did manage to “decorate” some other prints which is a good use.I would recommend using a glass sheet to help stick the melted plastic and it will pop off when cool. Also as you are essentially melting plastic I would also recommend using this in a well ventilated room and or have a fan handy…So overall these 3d print pens are a great tool to add to your arsenal for 3d printing, but also can be a great doodle/ design/ play thing for all concerned! 3d printing models free hand is an art and will take time but those skilled will find it rewarding!Overall 4.5 out of 5 but allocate a 5 as no half ratings.
Trustpilot
1 day ago
2 days ago
